These steps show how to set up Forms Boss Plus to share a database with all the computers in your office network.
Important Notes
- To network Forms Boss Plus in an office, one Windows computer will act as a server. Once you have set up the networking, the server computer will need to be on and running so the other workstations can use the program.
-
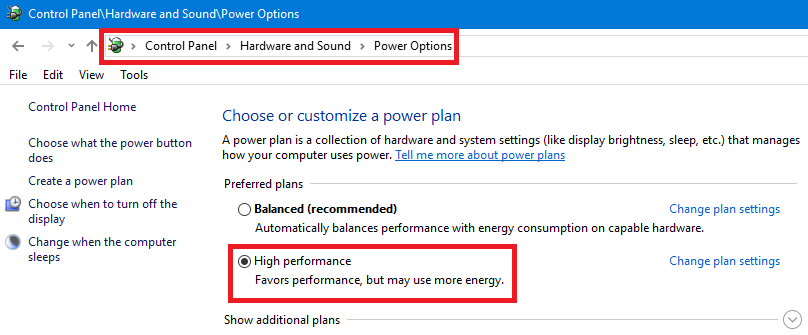
You will need to set the Power Options in Control Panel on the server to
High Performance and in Change Plan settings make sure the system is set to
never sleep. Also, the Network Adapter in Device Manager uncheck the Allow
the computer to turn off this device to save power.
- Your network should be wired. Setting up the data to be shared over wireless can cause database errors and possible data corruption.
- Your server must be a computer running Windows. Do not use a Network Attached Storage device (NAS)! It will cause errors and data loss at some point.
- Some virus scanners have a firewall that will block file sharing. If you have a problem after following this guide, contact the tech support for your virus/firewall software. Let them know that you cannot see a shared folder on your network.
- Make sure each system in the office has a unique computer name otherwise you won't be able to set up. Go into Control Panel, System and Security, System and click Change Settings to set the Computer Name.
Server Setup
- Go to the Windows computer that will act as the server.
-
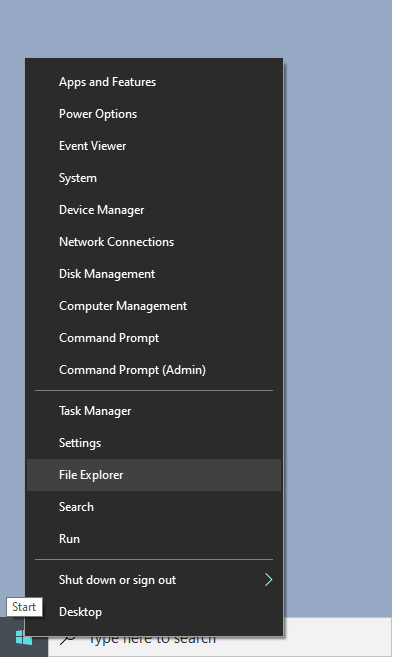
Open Windows Explorer (Start, Computer) or File Explorer (click the folder
icon on your taskbar or right click the Start button and choose File Explorer).

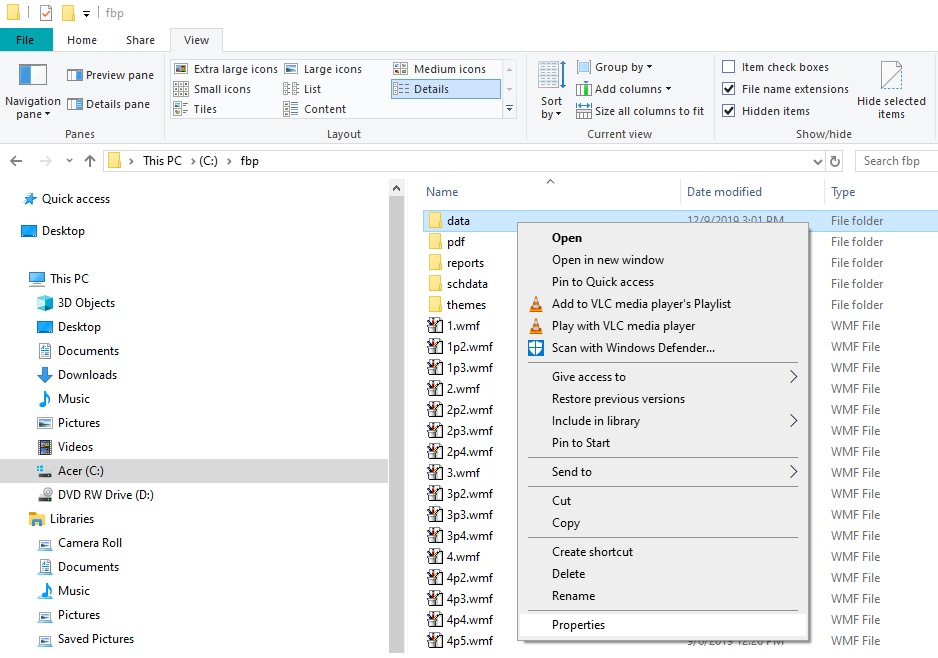
- Go to your Forms Boss program folder (usually c:\fbp)
- Right-click the data folder in fbp and click Properties.
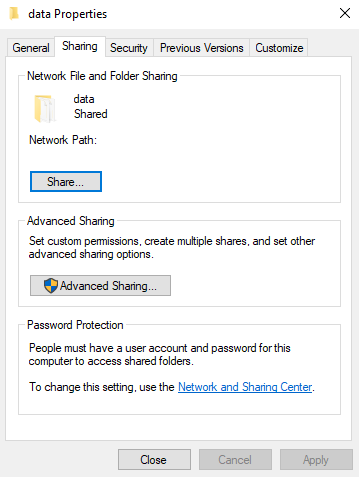
- Click the Sharing tab.
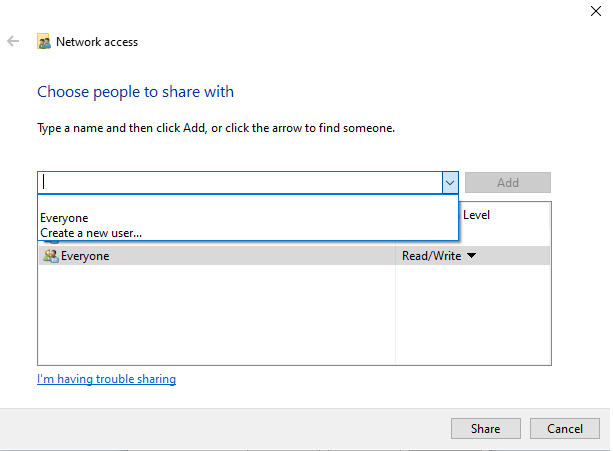
- Click the Share... button
- In the box with the arrow pointing down, choose Everyone and click Add.
- Once it has been added to the list, click the Read arrow for Everyone and change it to Read/Write.
- Click Share and note the Network Path. It will be similar to \\server-pc\data Make a note of what shows up in the Network Path because you will use that on each of the other computers.
- Close the box.
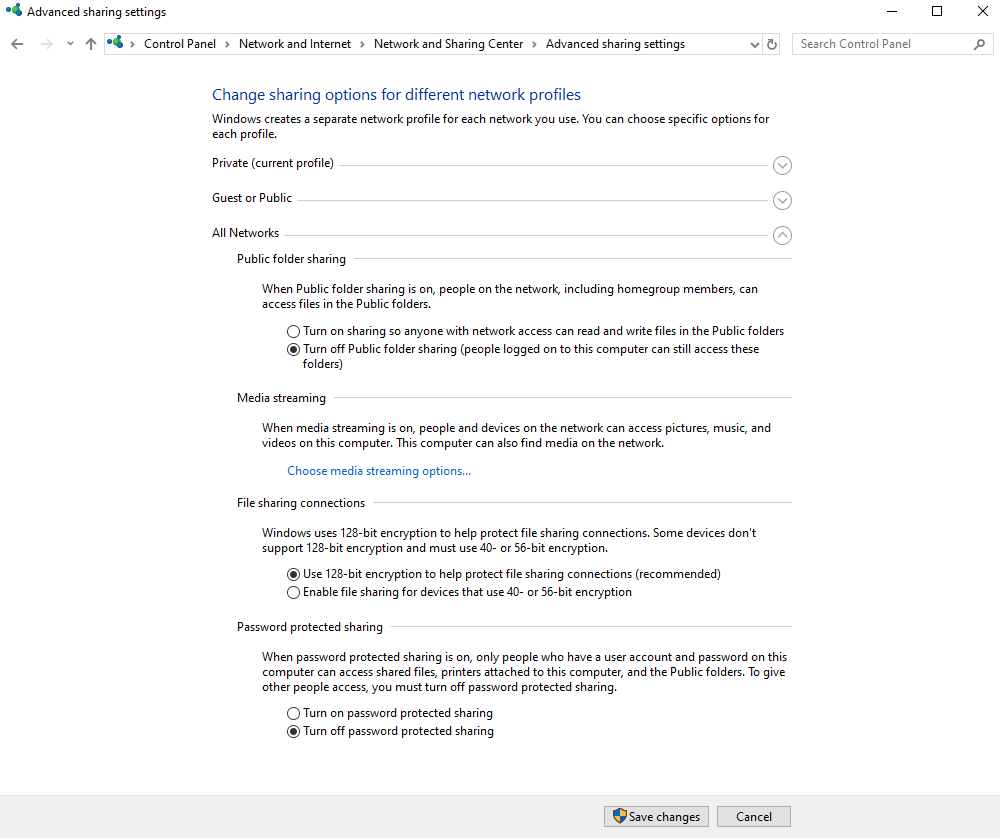
- You may need to change one other setting in Control Panel.
- Go into Network and Internet, then go to Network and Sharing Center, then click Change Advanced Sharing settings.
- Optional: In the list of options, scroll down and turn off the password protected sharing.
- If you do not turn off the password protected sharing, you will need to know the Windows user name and password of the server. This will be used on the workstations configuration.
Setting up the other Workstations
- Go to one of the workstations. Do not go to the server.
- Open Windows Explorer or File Explorer and click Network. If you get the prompt at the top of the screen to enable Network Discovery, turn it on.
- You should see the server listed on the right side.
- Double-click the server. If you are prompted for the Network Credentials, you will need to type the Windows user name and the password for the server. Type the user name and password and check the box to remember the credentials and click OK.
-
Open the Forms Boss Configure Database
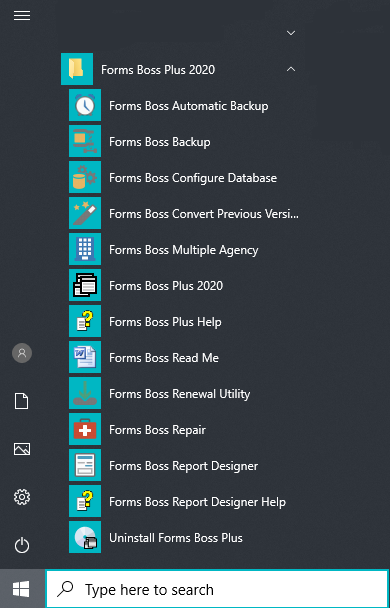
- Windows 7: Start, All Programs, scroll down the list to the Forms Boss Plus folder, click it and then click Forms Boss Configure Database
- Windows 8: Press the flag key (4 squares near the space bar), type Forms Boss Configure Database, click it in the list of matches.
-
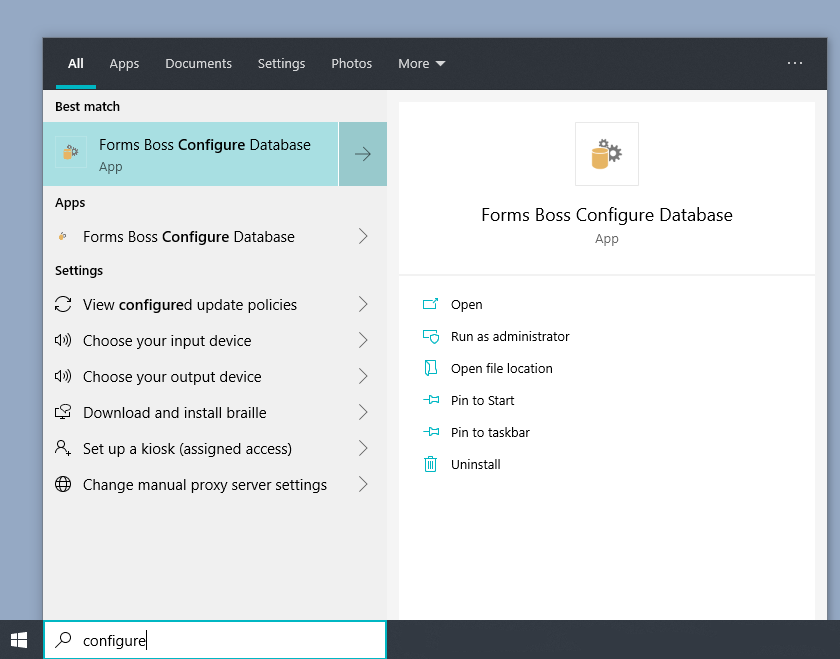
Windows 10: Click Start, All Apps, scroll down the list to the
Forms Boss Plus folder, click it and then click Forms Boss Configure
Database.
-
In the Data Directory box type in the location of the server that you
wrote down from the Server Setup above.
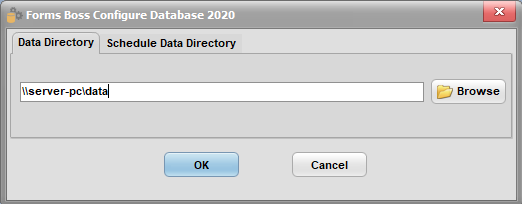
- Click OK.